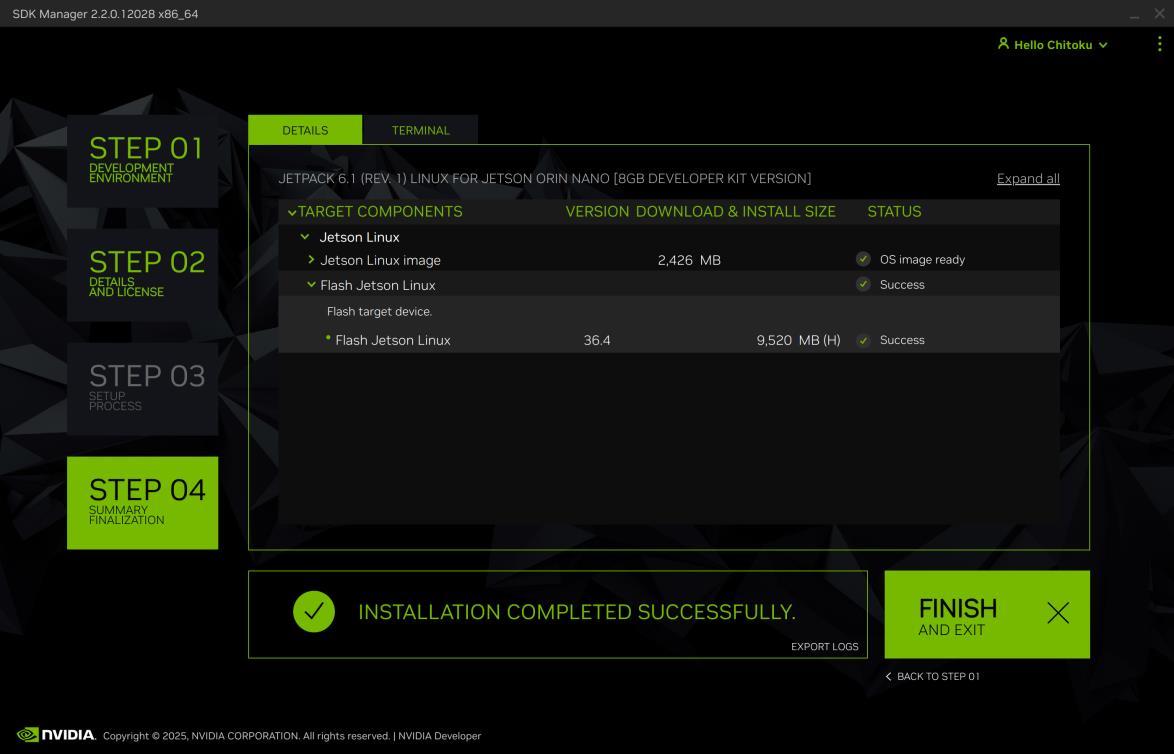
Jetson Flashing
Step-by-step guide to flashing an NVIDIA Jetson module using SDK Manager.
1. Power off and connect power supply
Use a stable 12V power adapter. Do not power on the board yet — connect the DC jack or power input first.
2. Enter Force Recovery Mode
Short the FC REC (Force Recovery) pin to GND on the header. Keep it shorted, then apply power / press the Power button while the short is in place. Release the short after power-up.
3. Connect Jetson to host PC via USB
Use the micro-USB or USB-C recovery port to connect to your Ubuntu host machine.
- Nano / TX2 → micro-USB
- Xavier NX / Orin → USB-C
4. Verify recovery mode on host
On the host, run:
lsusb
Confirm the NVIDIA device appears (e.g. NVIDIA Corp.). If it doesn't show up, redo the recovery-mode short and power cycle.
5. Install NVIDIA SDK Manager on host
If it isn't already installed, download and install SDK Manager on an Ubuntu host machine (check NVIDIA's site for the supported Ubuntu version for your Jetson model). Log in with your NVIDIA Developer account.
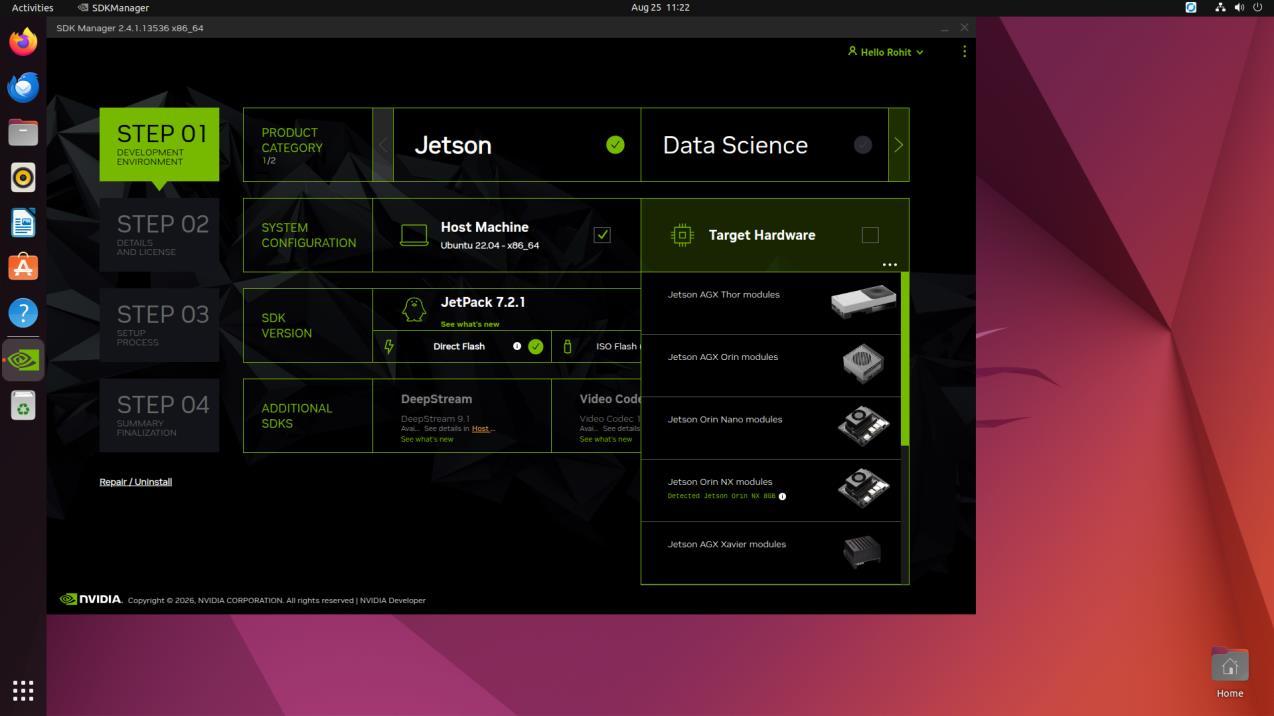
6. Select target hardware and JetPack version
In SDK Manager, choose your exact Jetson module / carrier board and the JetPack (L4T) version you want to flash. Select Manual Setup if the board isn't auto-detected.
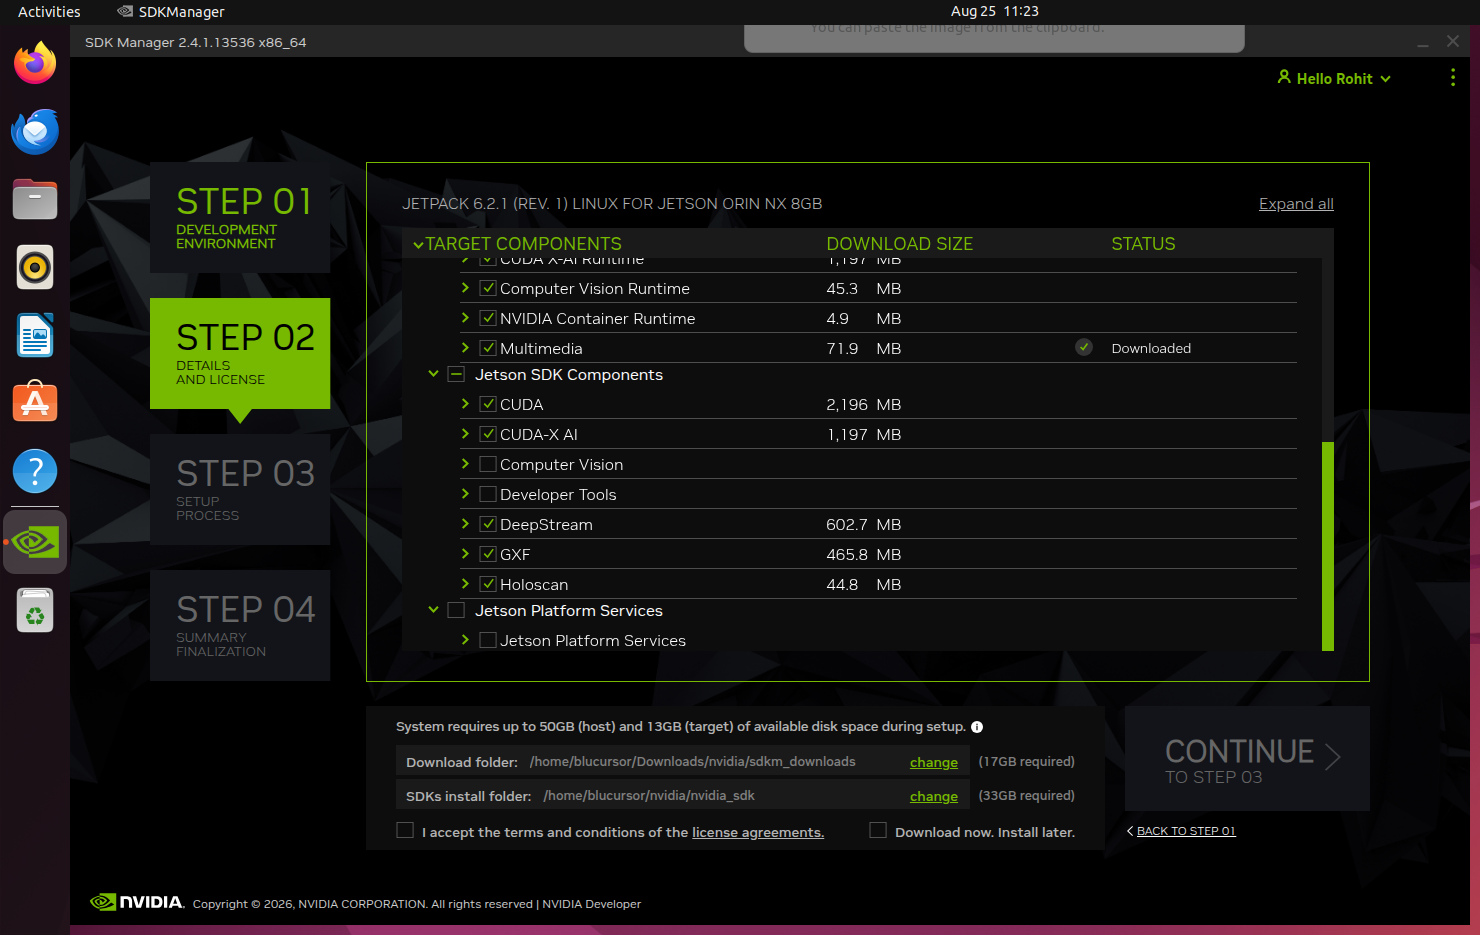
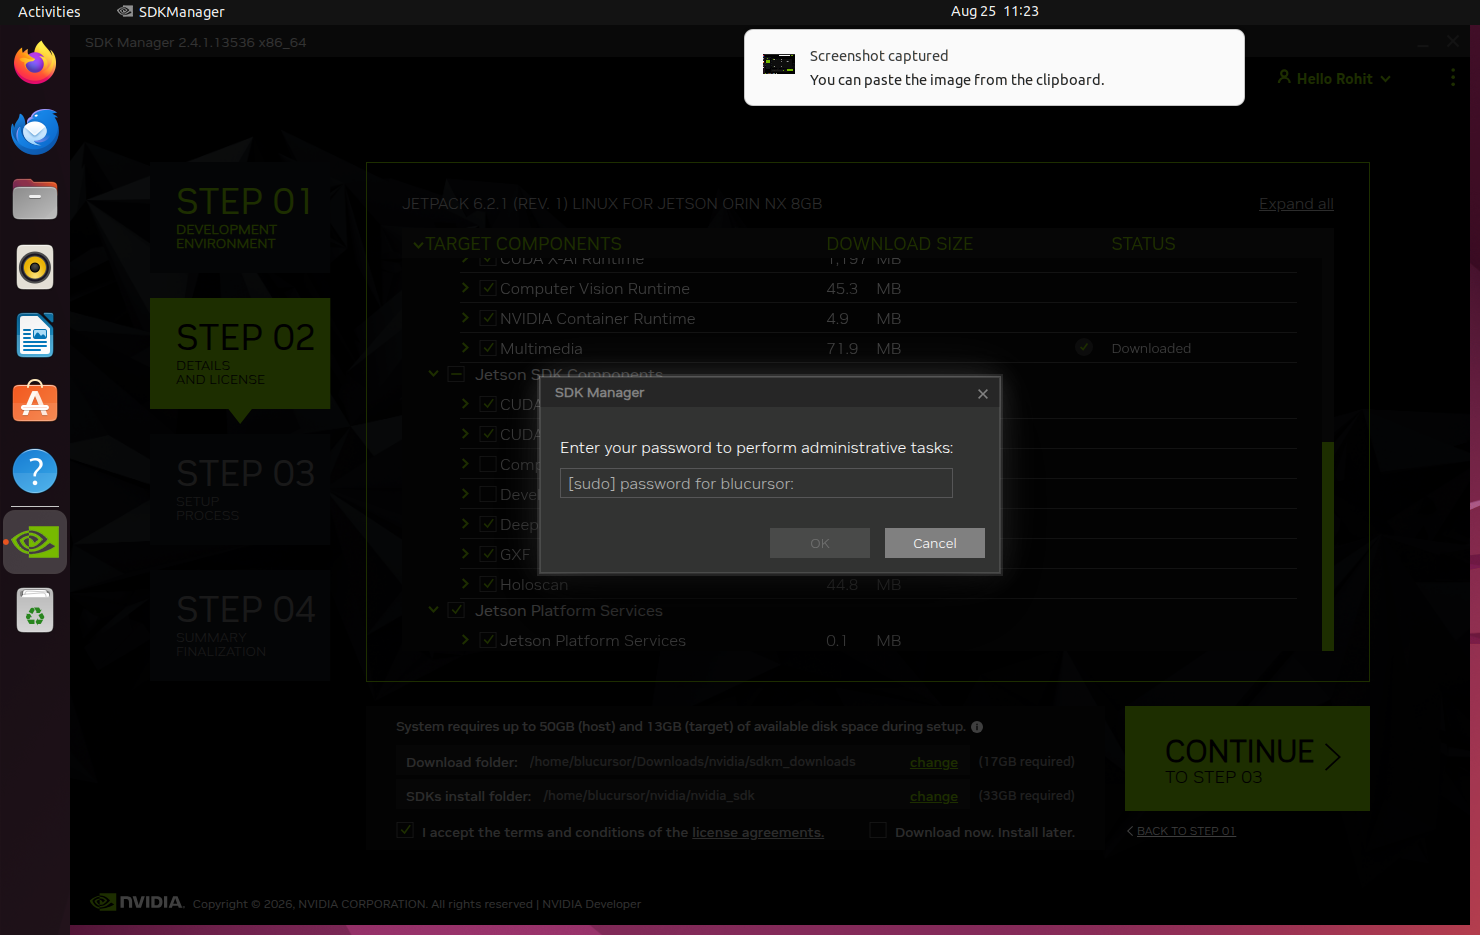
Then check the JetPack Platform Services checkbox, accept the Terms and Conditions, and click continue.
7. Flash the OS image
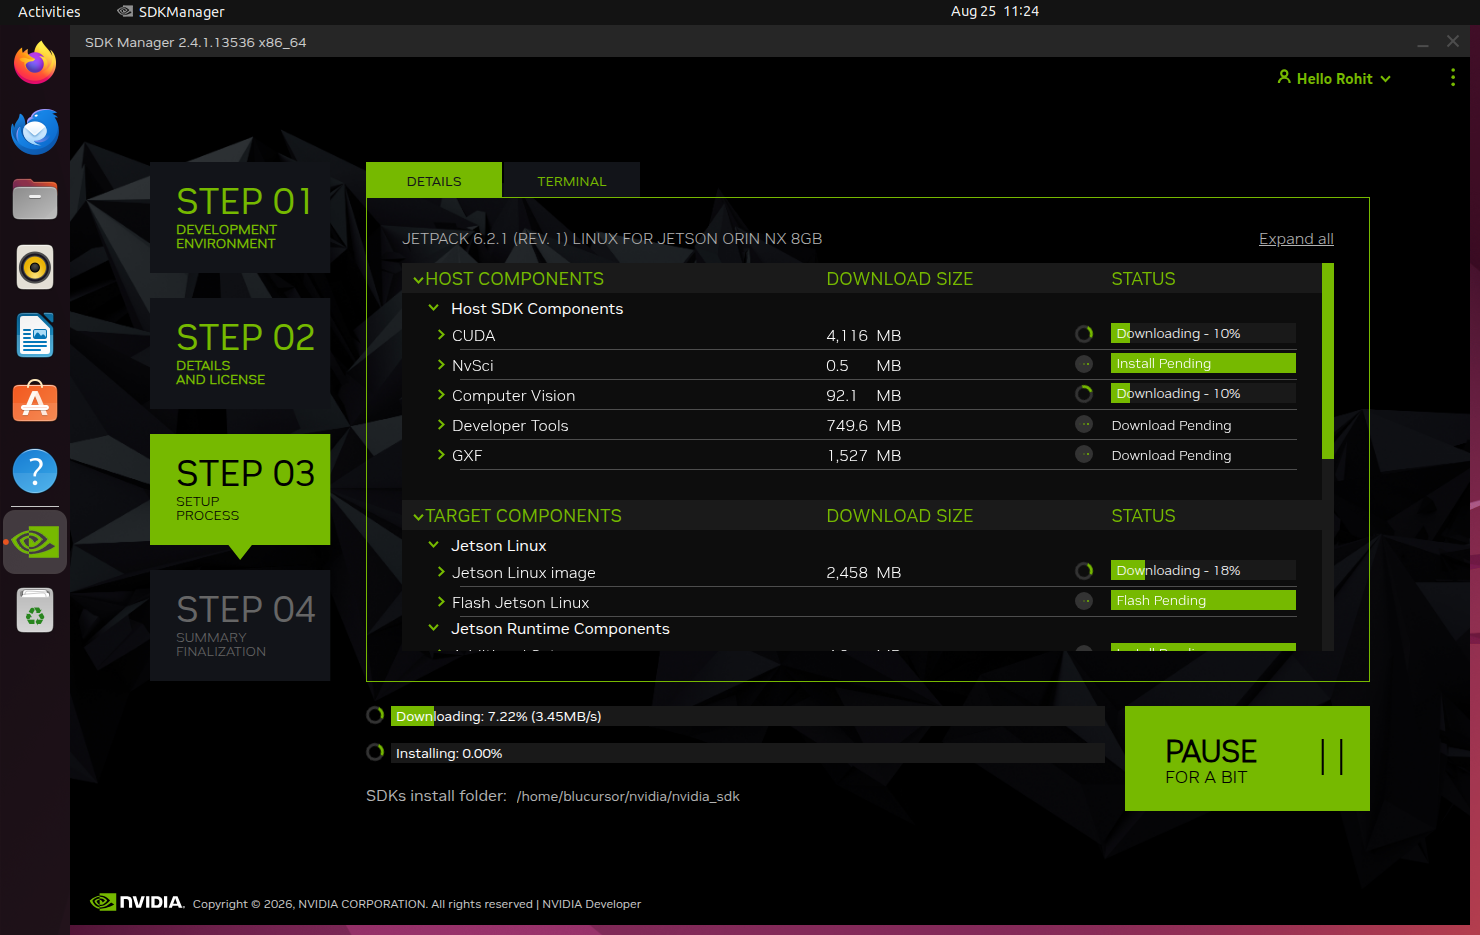
Proceed through SDK Manager's flashing step with the device still in recovery mode and connected via USB. Enter the admin password when prompted.
Wait for the flash to complete — do not disconnect power or USB during this process.
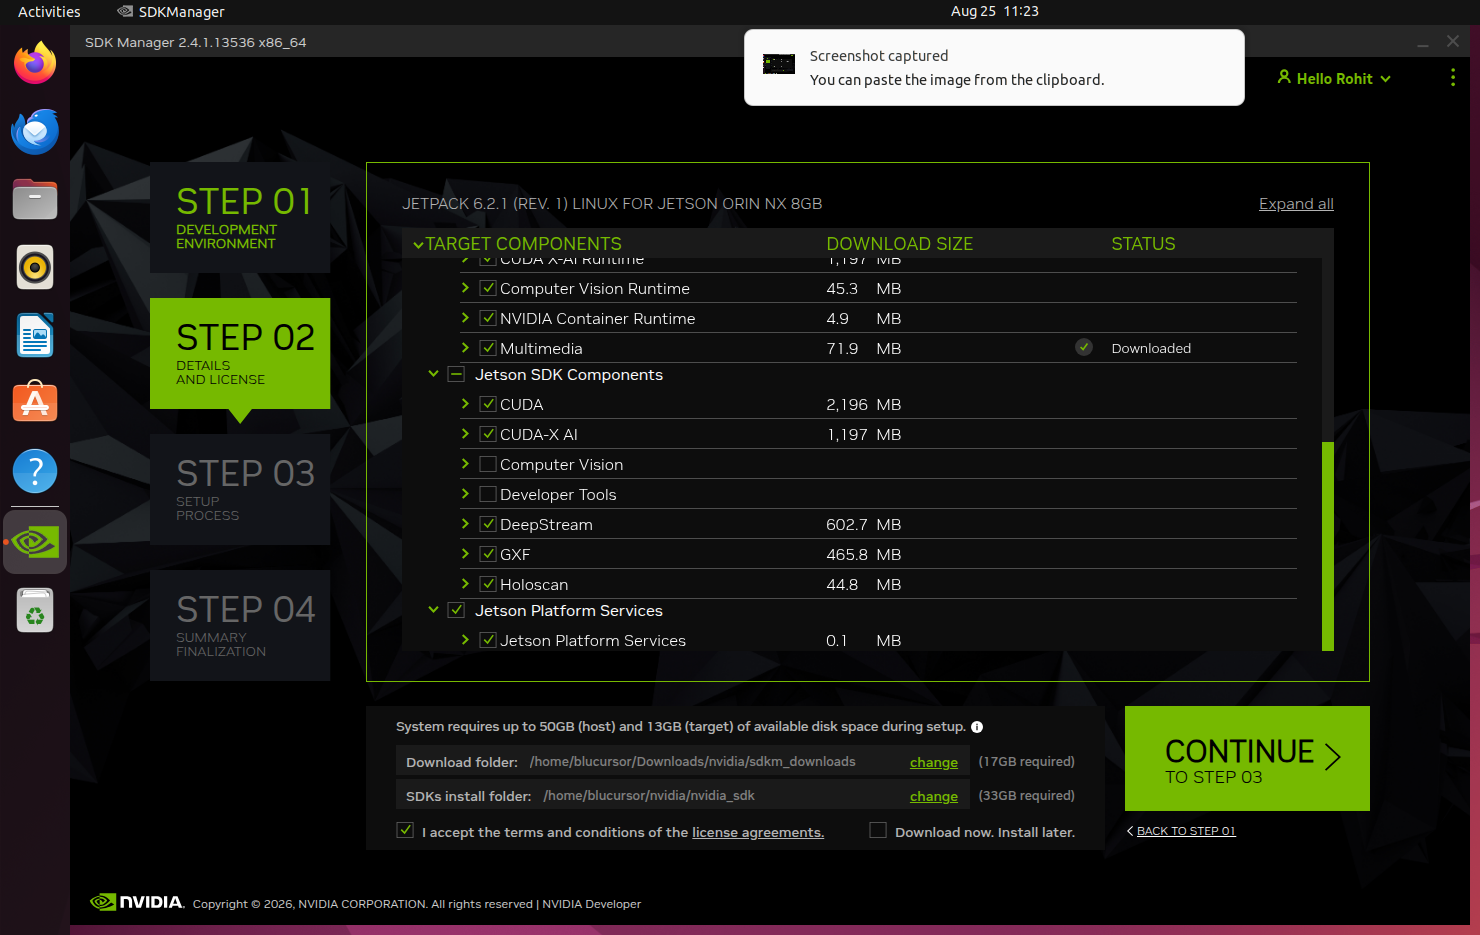
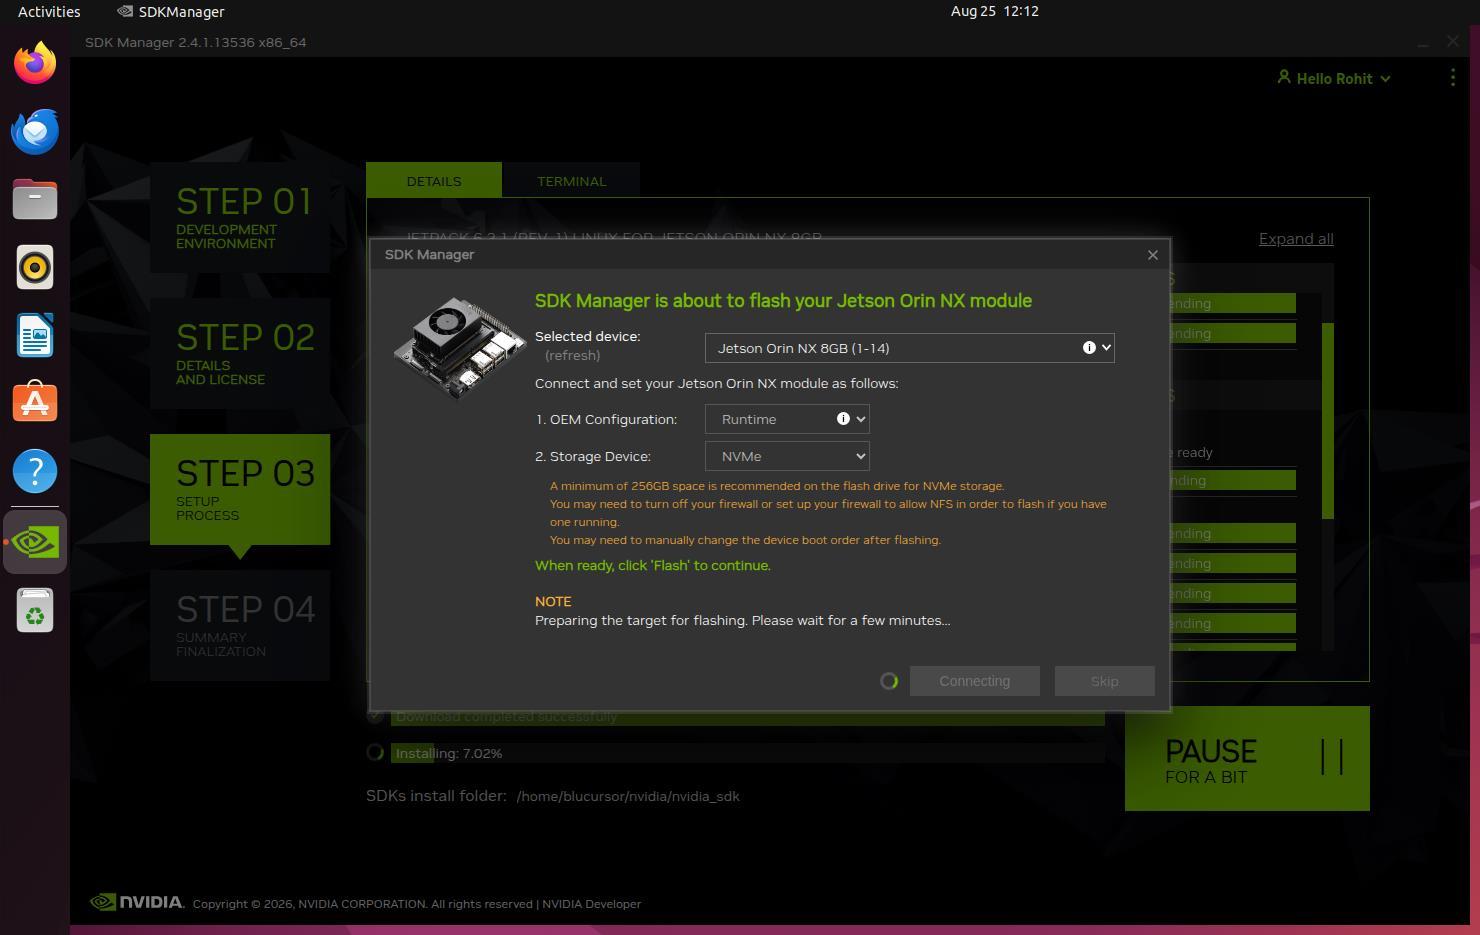
8. Create a password and remove the jumper
After flashing, manually create a password, remove the jumper, and then install the OS.
9. Enter username and password
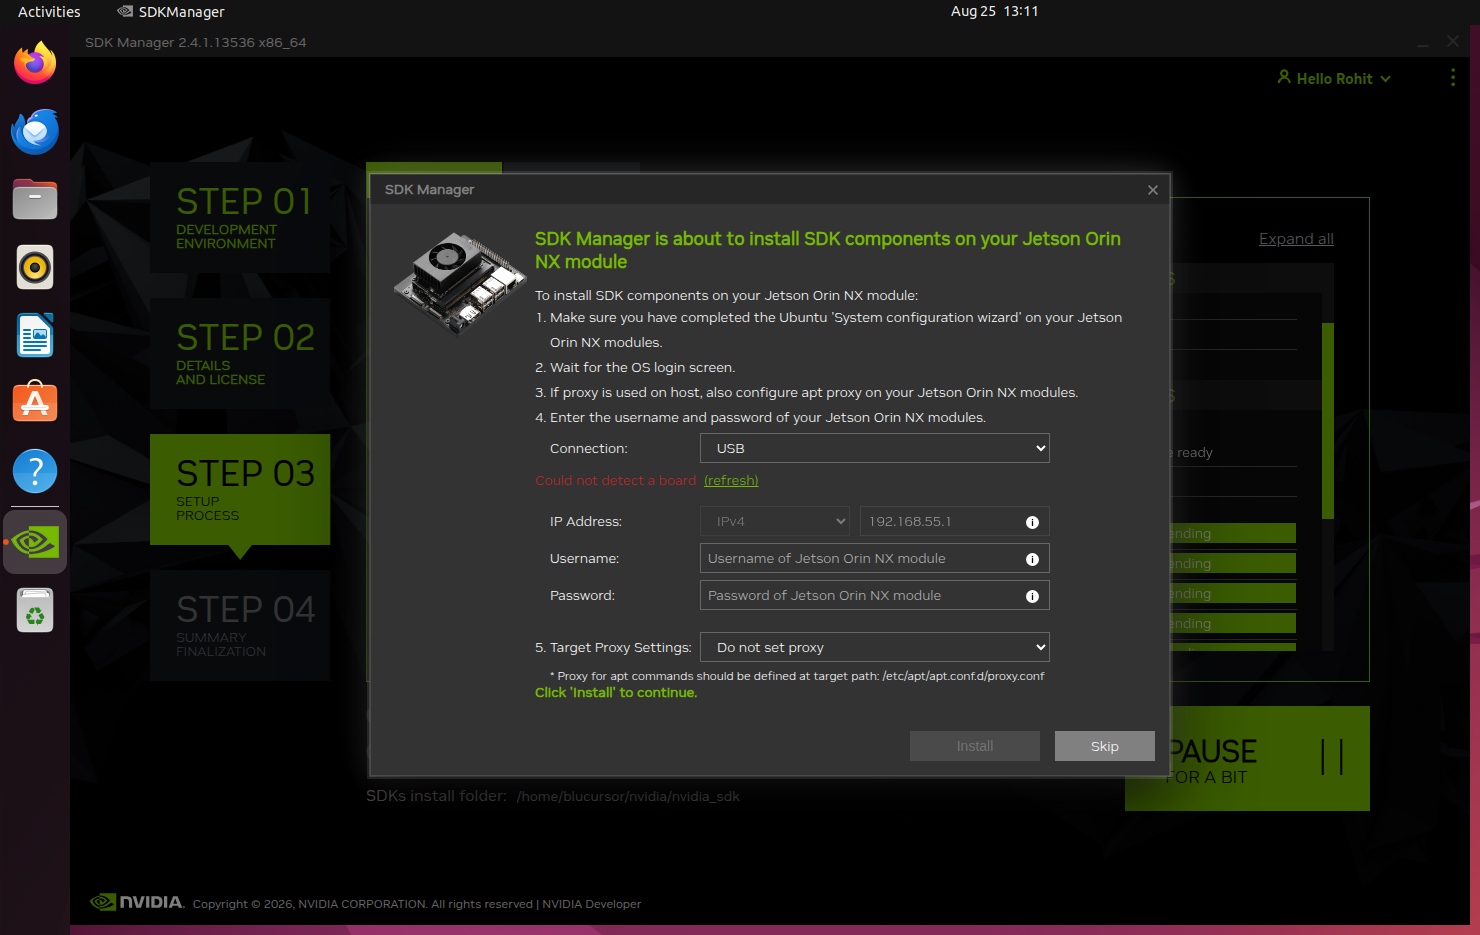
Enter the username and password manually, then click Install.
10. Finish
Click the Finish button — the Jetson has been flashed successfully.